Using MySQL OLE DB Provider in Visual Studio 2005 IDE is really easy. But some of you may or may know how to set it up. We are going to show you how to set it up and what problems you may run into.
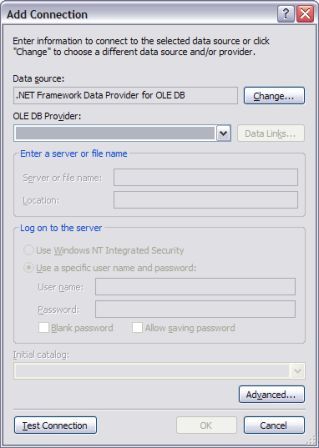
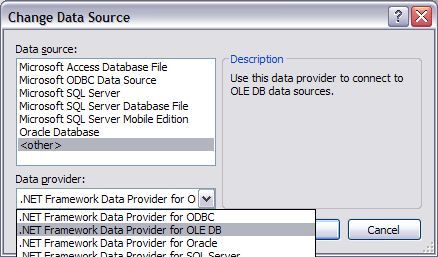
We will guide you through step by step to complete the setup process
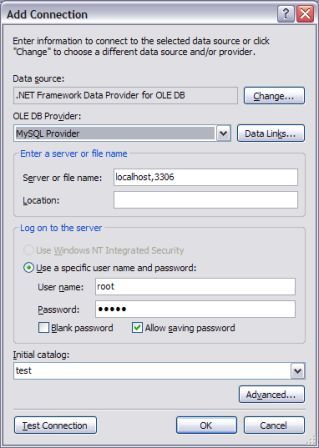
You setup MySQL OLE DB provider with VS 2005 IDE. Now you can run MySQL queries by right clicking the data connection you just added and the select New Query on the context menu.
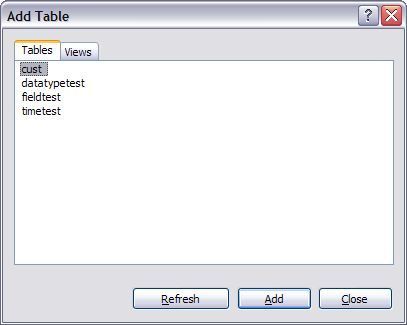
Select a table and click add and close buttons. You shall be able run queries now.
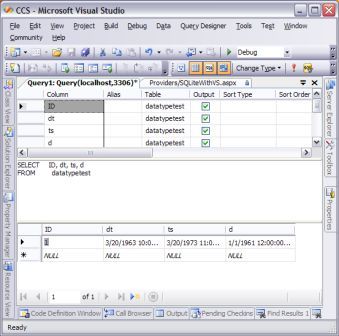
Visual Studio 2005 verifies the query syntax before it calls OLE DB Provider. However, MySQL query syntax is not complete the same as that for SQL Server.
Fortunately, Microsoft® does not prevent us from running this query. We can simply click continue to let the query run.
One other thing we have to point out is that it is always a good idea to set a limit for number of records you want to retrieve from MySQL database because it may take very long if you have millions of records.
